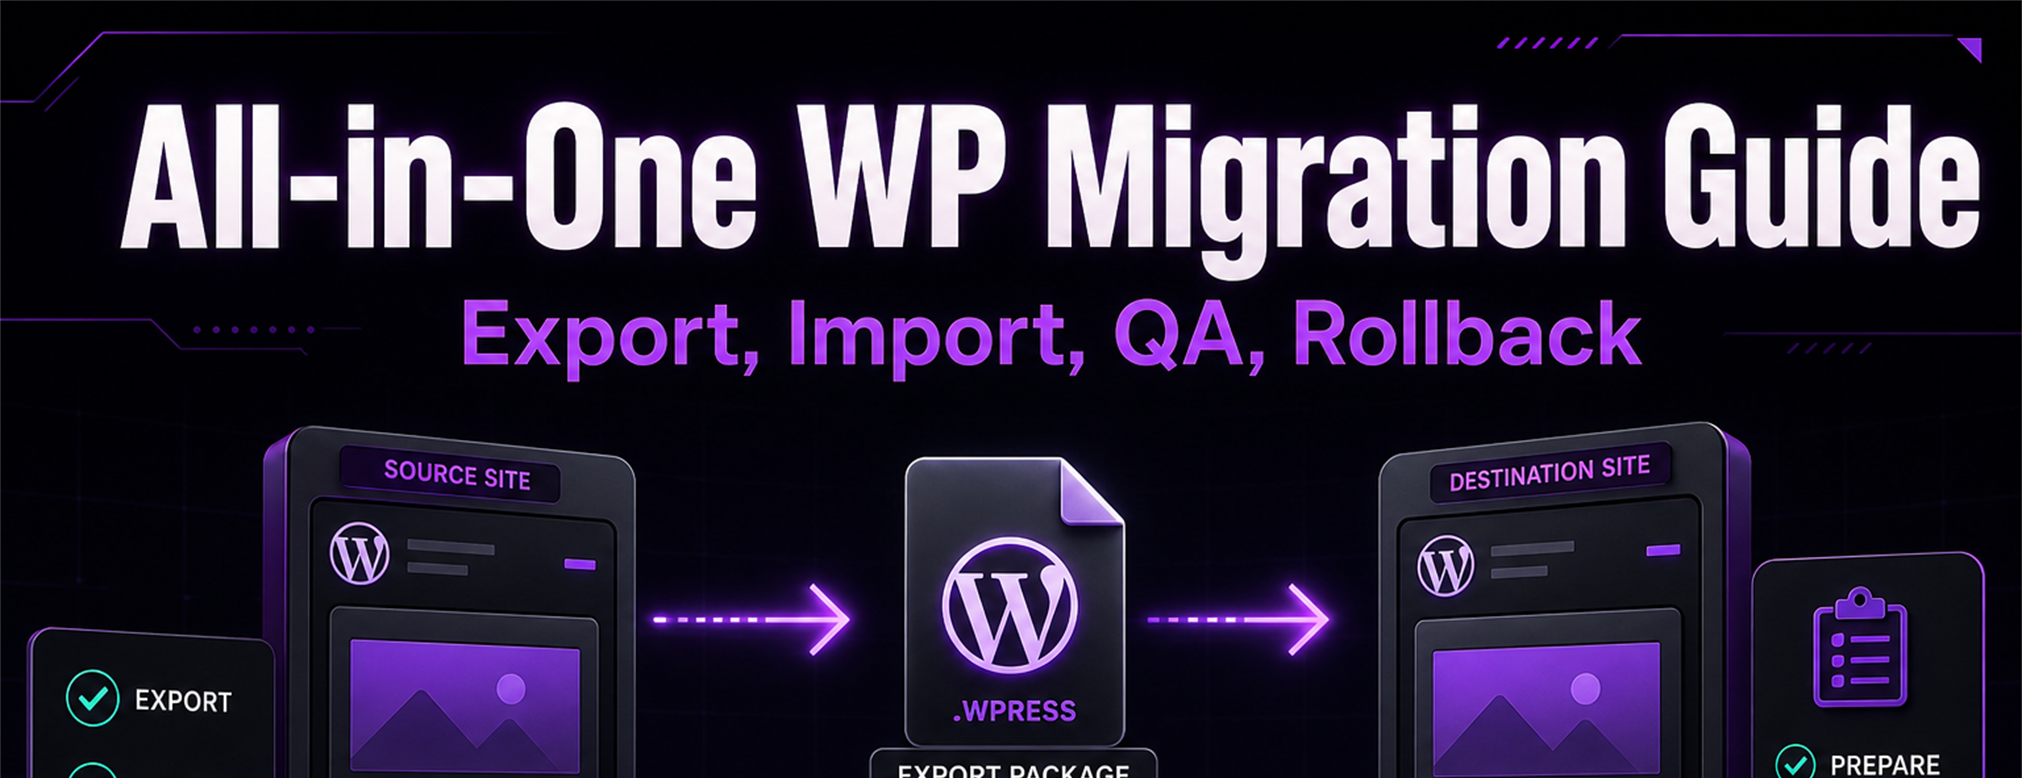
All-in-One WP Migration is one of the most downloaded WordPress migration plugins, and for good reason. It packages your entire site - files, database, themes, plugins, and media - into a single exportable file that you can import on another WordPress installation.
That said, the plugin has real limitations that most YouTube tutorials gloss over. This guide covers the full workflow including the gotchas.
Reviewed: July 24, 2026. Check the plugin page and your installed version before following any exact menu label, because WordPress, WooCommerce, PHP, and hosting limits change over time.
Disclosure: This guide is independent and not affiliated with ServMask, the plugin's developer. It is not official vendor documentation.
Before You Start: The Backup-First Rule
Never start a migration without a verified backup of both your source site and your destination site. If anything goes wrong during import, you need a clean rollback path.
- Run a full backup of your source site (the one you're migrating FROM)
- Run a full backup of your destination site (the one you're migrating TO - even if it's a fresh install)
- Store both backups off-site (Google Drive, Dropbox, or download locally)
Not sure how to back up properly? Read our complete WordPress backup guide.
Step 1: Install the Plugin on Both Sites
- On your source site: Go to Plugins → Add New → search for "All-in-One WP Migration" → Install → Activate.
- On your destination site: Do the same thing.
Both sites need the plugin installed and activated.
Step 2: Export Your Source Site
- In your source site dashboard, go to All-in-One WP Migration → Export.
- Click Export To and select File (the free version only supports file export).
- The plugin will package everything - database, media, themes, plugins - into a
.wpressfile. - Once complete, click Download and save the file to your computer.
Optional but recommended: Before exporting, use the Advanced Options dropdown to exclude large directories you don't need (like wp-content/cache/ or old backup folders). This reduces file size and import time.
Step 3: Handle File Size Limits
This is where most people get stuck. The free version of All-in-One WP Migration has an import size limit (typically around 256 MB or less, depending on your host's PHP settings).
If your export file exceeds the limit:
- Option A: Purchase the Unlimited Extension from the plugin developer (one-time fee, removes the size cap).
- Option B: Increase your server's PHP upload limits manually:
upload_max_filesize- set to at least the size of your.wpressfilepost_max_size- set slightly higher thanupload_max_filesizemax_execution_time- set to 300 or higher for large imports- These can usually be changed in
php.ini,.htaccess, or your hosting control panel.
- Option C: Use the plugin's Advanced Options to exclude media files from the export, migrate the site structure first, then manually upload media via FTP.
Server limits can also affect exports and imports. Check memory_limit, max_execution_time, max_input_time, temporary disk space, file permissions, security modules, and any host-level upload restrictions. Large media libraries, backup folders, cache folders, and log files can make the export larger than expected.
Step 4: Import on the Destination Site
- On your destination site, go to All-in-One WP Migration → Import.
- Click Import From → File.
- Select your
.wpressfile and wait for the upload to complete. - The plugin will show you a confirmation dialog warning that the import will overwrite your existing site. This is permanent. Confirm only if you have a backup of the destination site.
- Wait for the import to finish. Don't close the browser tab.
Step 5: Post-Import Steps
After import completes:
- Save your permalinks: Go to Settings → Permalinks → click Save Changes (even without changing anything). This rebuilds your
.htaccessfile and prevents 404 errors. - Log in with your source site credentials: The import replaces the destination database, so your login credentials are now whatever they were on the source site.
- Update the site URL if needed: If you're moving to a different domain, go to Settings → General and verify the WordPress Address and Site Address fields.
Step 6: DNS and Domain Considerations
If you're migrating to a new host with a different IP address:
- Update your domain's DNS A record to point to the new host's IP address.
- TTL (Time to Live): DNS propagation can take 24–48 hours. During this window, some visitors may see the old site and others the new one.
- Tip: Lower your DNS TTL to 300 seconds a day or two before the migration to speed up propagation.
If you're keeping the same domain and host (e.g., staging to live), DNS changes aren't needed.
Step 7: Search and Replace Risks
All-in-One WP Migration handles basic URL replacement during import (old domain → new domain). However, some scenarios can cause issues:
- Serialized data: Some plugins store URLs in serialized format. The plugin handles most cases, but complex custom fields or page builder data can sometimes break.
- Hardcoded URLs: If URLs are hardcoded directly in theme files or custom code, the plugin won't catch them. You may need a manual find-and-replace.
- Mixed HTTP/HTTPS: If your source site used HTTP and the destination uses HTTPS (or vice versa), check for mixed content warnings after migration.
Search-and-replace mistakes can break serialized data, payment callback URLs, image paths, redirects, and license validation. Keep a backup and avoid running extra database replacement tools unless you know exactly which tables and URL formats are involved.
Step 8: WooCommerce and Ecommerce Considerations
If you're migrating a WooCommerce store:
- Time your migration carefully. Any orders placed on the source site during migration won't appear on the destination site. Consider putting the store in maintenance mode during the switch.
- Payment gateway credentials: API keys for Stripe, PayPal, or Square may need to be re-entered or re-authenticated on the new site.
- Shipping and tax settings: Verify these are intact after import. They sometimes reset or need reconfiguration.
- Test a full checkout flow on the new site before going live.
Step 9: Post-Migration QA Checklist
Before announcing the migration is complete, verify:
- [ ] Homepage loads correctly
- [ ] All major pages render properly (About, Services, Contact, etc.)
- [ ] Navigation menus work on desktop and mobile
- [ ] Contact forms submit successfully and deliver emails
- [ ] Images and media files load (no broken images)
- [ ] SSL certificate is active (padlock icon in browser)
- [ ] WooCommerce checkout works end-to-end (if applicable)
- [ ] Blog posts display correctly
- [ ] Plugins are activated and functioning
- [ ] Site speed is acceptable
- [ ] Google Analytics / tracking codes are firing
Original screenshots can make QA faster. Before migration, capture the homepage, key service pages, forms, checkout, account pages, cart, and any custom workflows. After migration, compare against those screenshots and note any intentional differences.
Rollback Plan
If something goes wrong:
- Restore the backup of your destination site (the one you made in Step 0).
- If DNS was changed, revert the A record to point back to the old host.
- Diagnose what went wrong before attempting the migration again.
Common errors include imports timing out, stuck uploads, corrupted .wpress files, missing media, login redirect loops, mixed-content warnings, broken permalinks, and plugin-license errors. Do not keep retrying imports against a live store without confirming what changed.
When to Skip DIY and Get Professional Help
All-in-One WP Migration works well for straightforward site-to-site moves. But if your migration involves any of the following, consider bringing in a professional:
- Database larger than 1 GB
- WooCommerce with active orders during migration
- Multisite network
- Custom server configurations
- Domain change with email migration
- Migration from a non-WordPress platform
Our managed WordPress migration service handles the full process, including scope review, staging where appropriate, DNS planning, testing, and launch coordination.